Initial Setup
This guide explains how to install and configure the QuickBooks Online via Zapier plugin in Workbooks. The plugin helps you get up and running quickly by automatically creating the fields and processes required for the integration.
Before you begin, make sure you have:
- System Administrator access in Workbooks
- System Administrator login credentials for QuickBooks Online. You’ll need these credentials during the installation process.
Installing the Plugin

2. Click Start.
3. Click “Configuration”

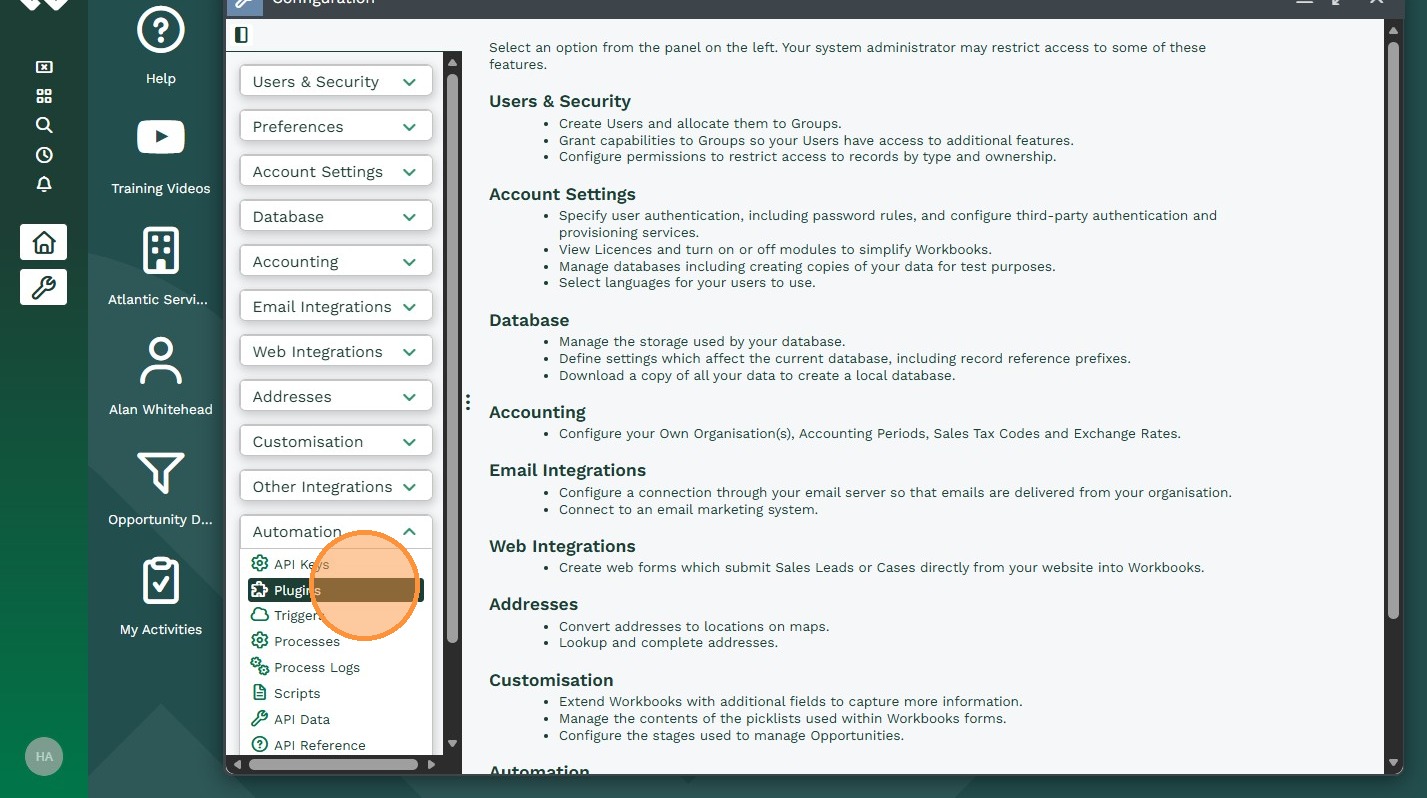
4. Click “Automation”
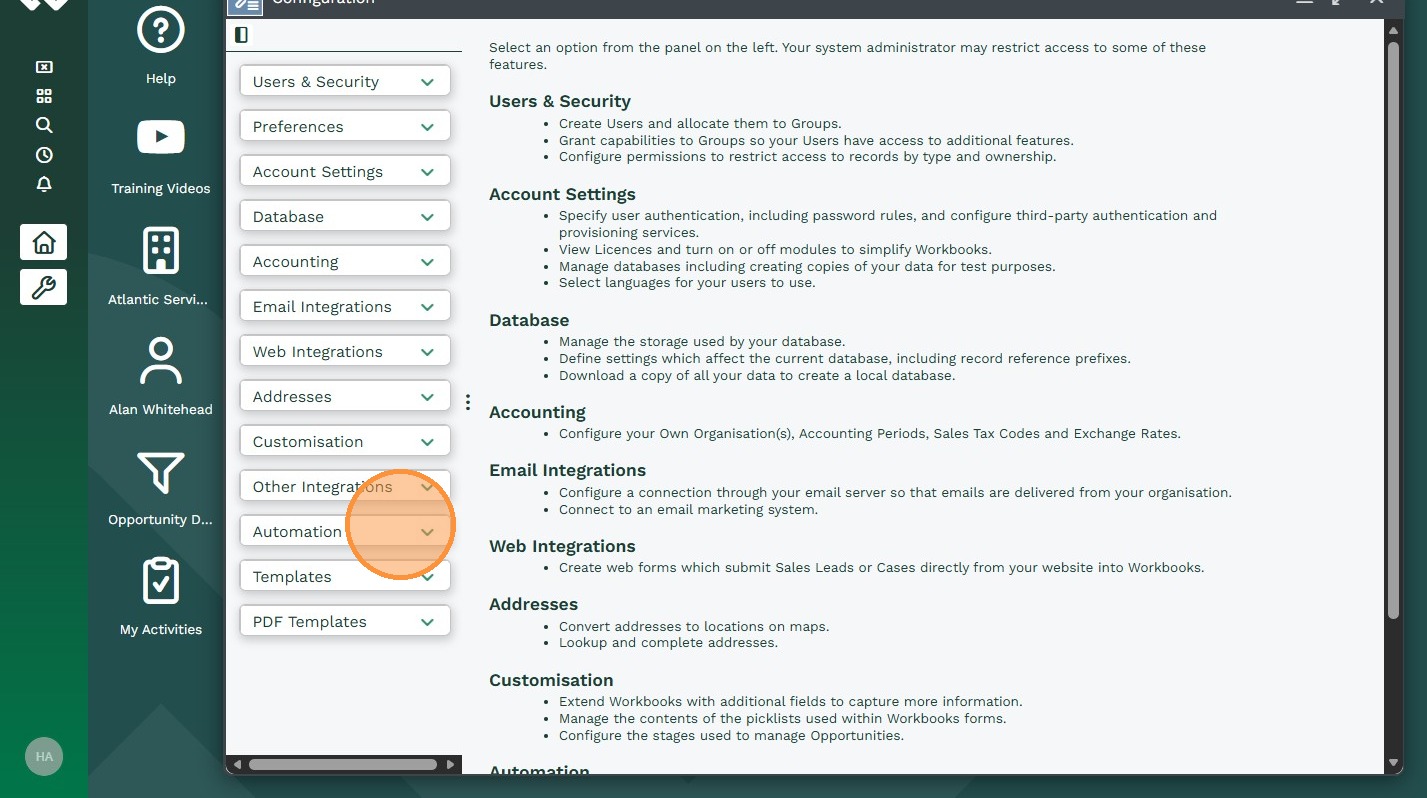
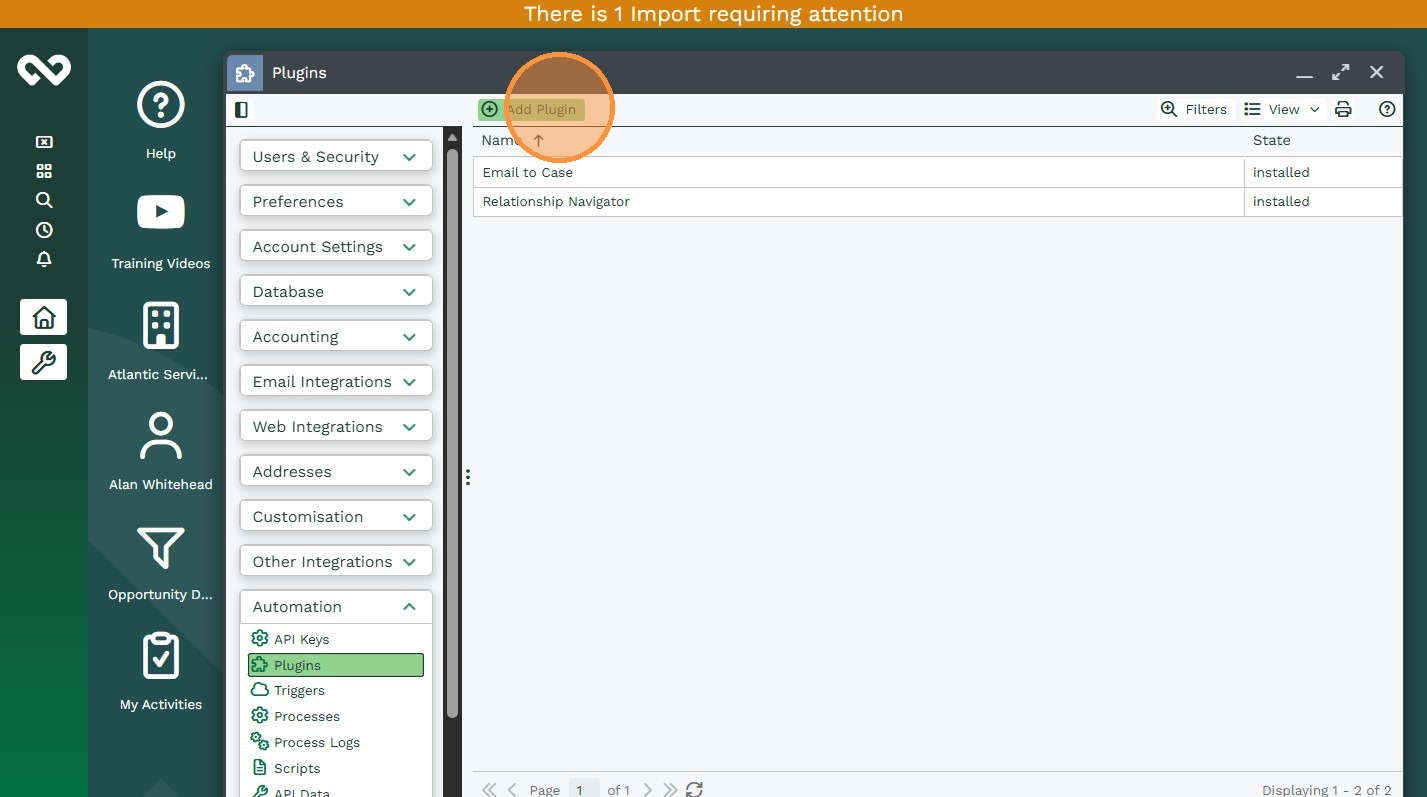
5. Click “Plugins”
6. Click “Add Plugin”
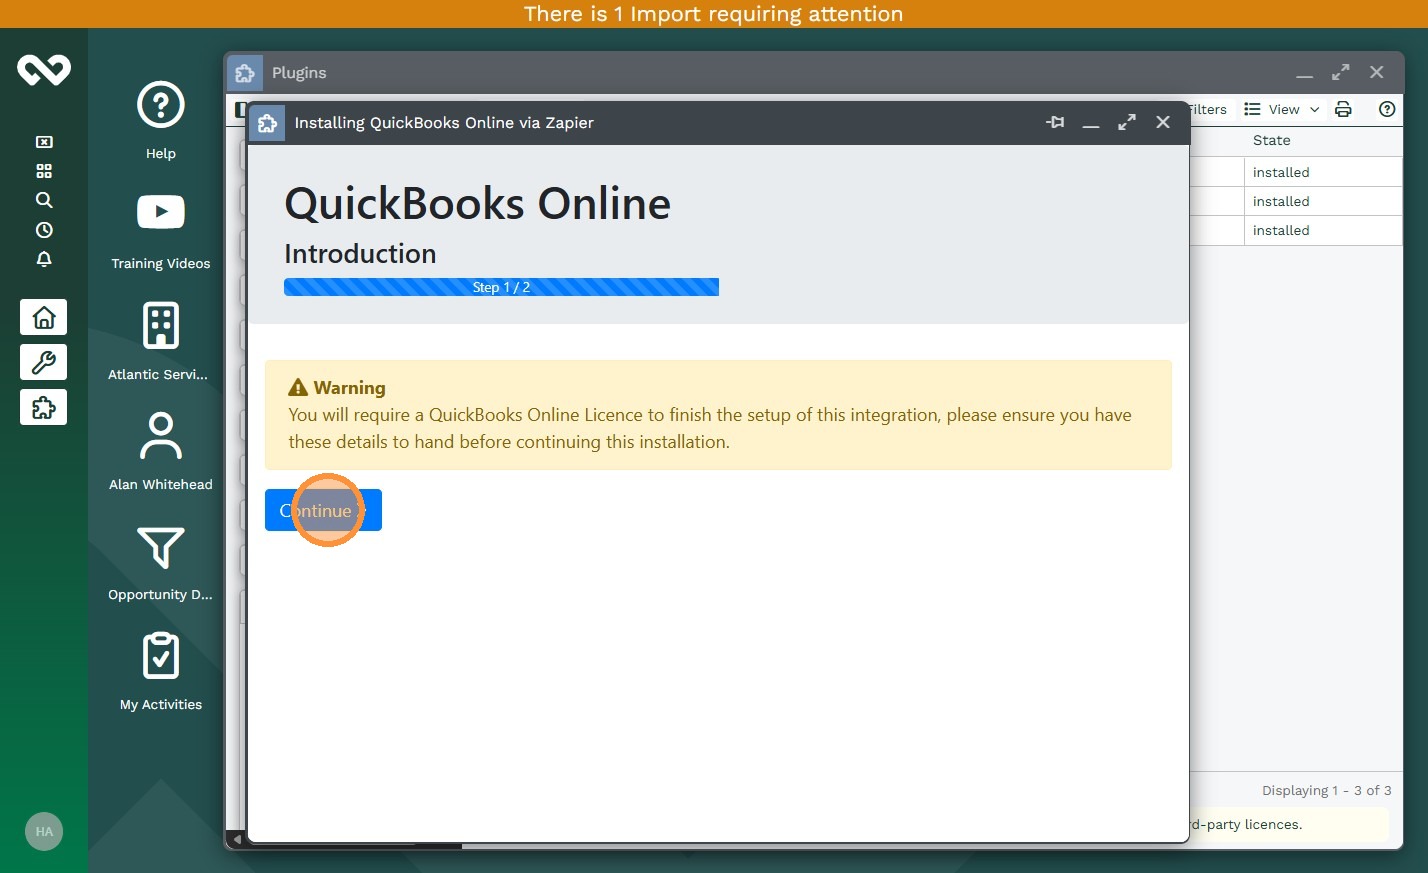
7. Click “Install” begin the installation Wizard

8. Before clicking “Continue” for this integration, confirm that you have a System Administration login for QuickBooks Online. Once you have these credentials to hand, click Continue on Step 1 of the Plugin
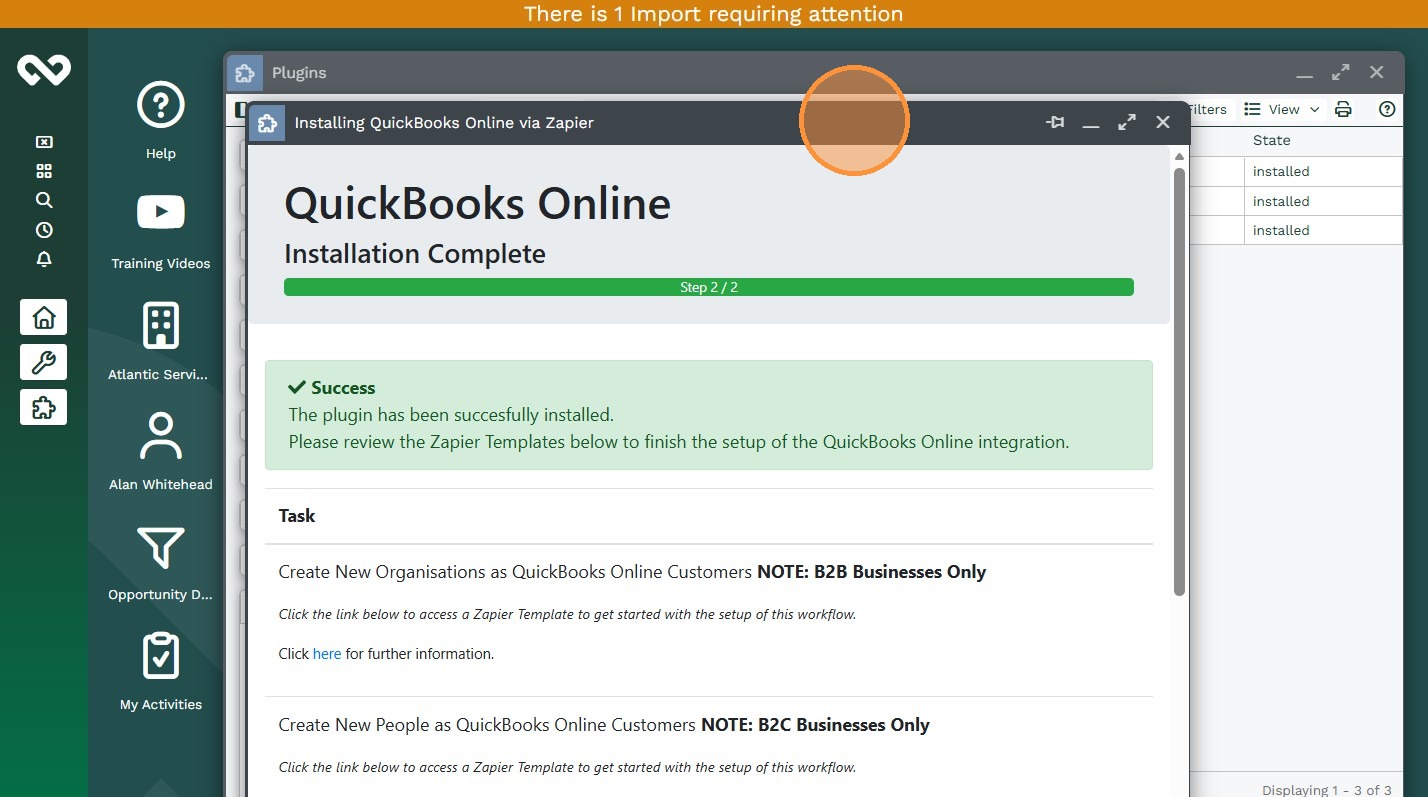
9. When finished the below window “Installing QuickBooks Online via Zapier” will be displayed with a list of available Zap Templates that can be used to start your integration setup within the Zapier UI. Workbooks has created the following Zap templates to speed up your deployment:
Note
We have provided Zap Templates to support B2C (People) & B2B (Organisations) Businesses. Choose which template best suits your business needs and deploy as appropriate.
Automatic Configuration
The installation will take a few seconds to complete. The following configuration is created as part of the Plugin installation and is required by the integration:
Web Processes as follows:
- QuickBooks Listener: This process listens for QuickBooks Payments passed to Workbooks via Zapier. When a payment is received, the relevant Workbooks Invoice “Amount Paid” field is updated with the value of the QuickBooks Payment. The Payment also appears as a Workbooks Task, available under the “Activities” tab of the Invoice.
- QuickBooks Authentication: This process manages the authentication flow with QuickBooks Online when using the “Sales Tax Code Lookup” feature described below.
Custom Fields as follows on all Transaction Document Line Items types:
- QuickBooks Sales Tax Id (Picklist)
- QuickBooks Nominal Code (Text)
Custom Fields as follows on Product records:
- QuickBooks Sales Tax Lookup (iFrame)
- QuickBooks Sales Tax Id (Picklist)
- QuickBooks Nominal Code (Text)
Picklist Values as follows:
- A value of QuickBooks Payment added to the Activity Types picklist
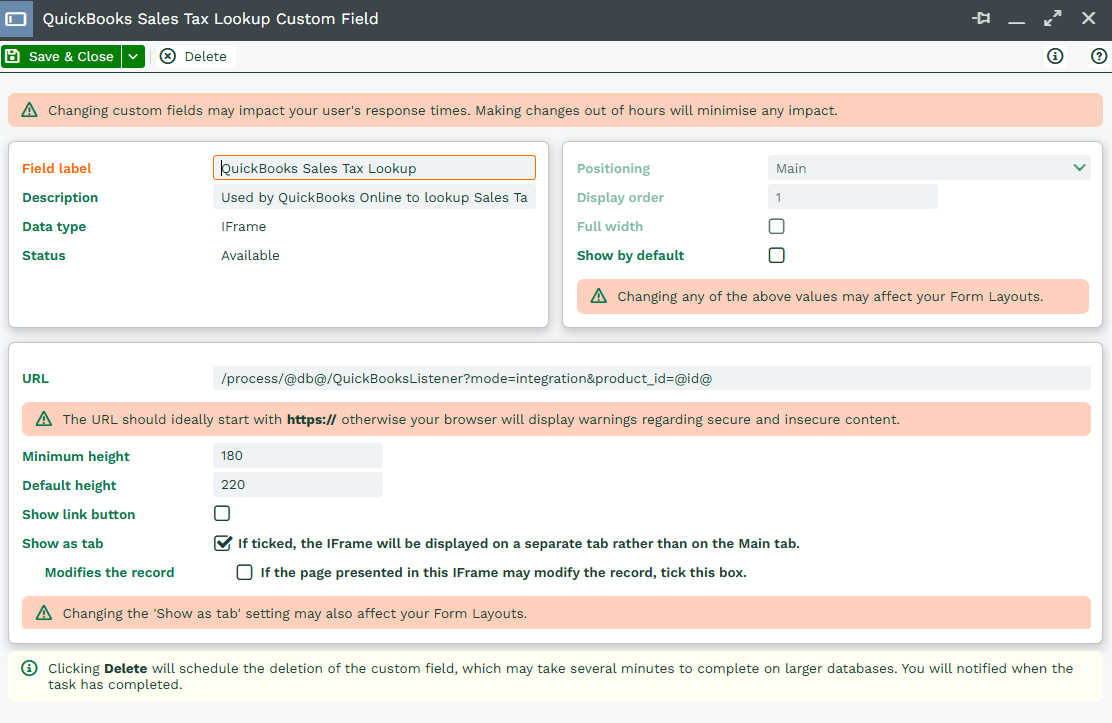
Manual Configuration
On the Product Record, the Plugin creates a field called “QuickBooks Sales Tax Lookup” which is an iFrame Custom Field. When clicked it provides the user with a list of QuickBooks Sales Tax Codes that can be set on each Product record in Workbooks.
If set, that Sales Tax Code will pull through to any Transaction Document Line Item where that Product is used. Navigate to Configuration > Customisation > Products > Fields tab to find the field. The Custom Field is created with the following two settings set to FALSE.
- Show by Default: This will show the field on all Product Form Layouts. If you have more than one Product Form Layout, you may wish to amend these accordingly to only show the field to System Administrators.
- Modifies the record: This prompts the user to reload the Product after they have updated it using this iFrame.
Set each one to TRUE then click “Save & Close”